Step-by-Step Guide to Connecting On-Premises Data Sources with Azure Data Factory
Step-by-Step Guide to Connecting On-Premises Data Sources with Azure Data Factory
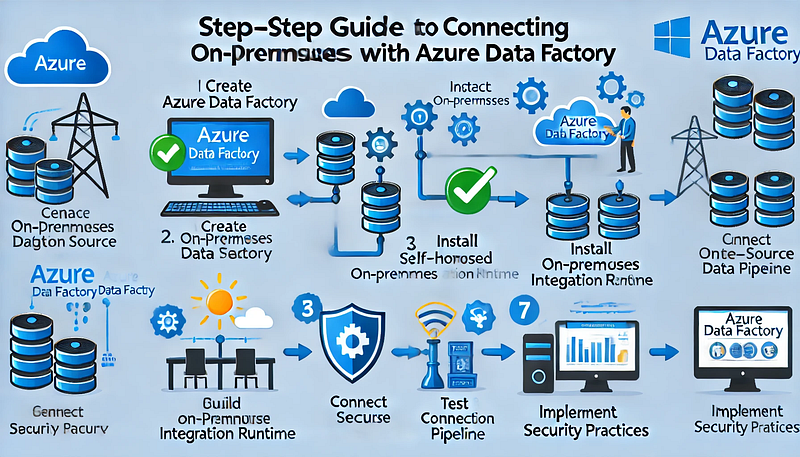
Connecting on-premises data sources with Azure Data Factory (ADF) allows organizations to securely transfer and integrate data across hybrid environments. This step-by-step guide outlines the process for establishing a secure connection between your on-premises data sources and Azure Data Factory using a Self-Hosted Integration Runtime (IR).
Step 1: Prerequisites
Before proceeding, ensure you have the following:
✅ An Azure Data Factory instance.
✅ An on-premises machine (Windows) with internet access.
✅ Appropriate permissions for creating pipelines in Azure Data Factory.
✅ Installed Self-Hosted Integration Runtime (covered in Step 3).
Step 2: Create an Azure Data Factory Instance
- Sign in to the Azure portal.
- Go to Create a Resource and select Data Factory.
- Fill in the required details:
- Subscription: Choose your Azure subscription.
- Resource Group: Select or create a new one.
- Region: Select the region closest to your on-premises data source.
- Name: Provide a meaningful name for your Data Factory.
- Click Review + Create, then Create.
Step 3: Install and Configure the Self-Hosted Integration Runtime
To enable secure data movement between your on-premises system and Azure Data Factory, you must install the Self-Hosted IR.
- In the Azure portal, go to your Data Factory instance.
- Navigate to Manage → Integration Runtimes.
- Click + New → Select Self-Hosted → Click Continue.
- Enter a name for your Self-Hosted IR and click Create.
- Download the Integration Runtime installer by clicking Download and Install Integration Runtime.
- Install the downloaded file on your on-premises machine.
- During installation, you’ll be prompted to enter a Registration Key (available from the Azure portal). Paste the key when requested.
- Verify the status shows Running in Azure Data Factory.
Step 4: Connect On-Premises Data Source
- In Azure Data Factory, go to the Author tab.
- Click the + (Add) button and select Dataset.
- Choose the appropriate data store type (e.g., SQL Server, Oracle, or File System).
- Provide the connection details:
- Linked Service Name
- Connection String (for databases)
- Username and Password (for authentication)
- Under the Connect via Integration Runtime section, select your Self-Hosted IR.
- Click Test Connection to validate connectivity.
- Once verified, click Create.
Step 5: Build and Configure a Pipeline
- In the Author tab, click the + (Add) button and select Pipeline.
- Add a Copy Data activity to the pipeline.
- Configure the following:
- Source: Choose the dataset linked to your on-premises data source.
- Sink (Destination): Choose the Azure data store where you want the data to land (e.g., Azure SQL Database, Blob Storage).
- Click Validate to check for errors.
- Click Publish All to save your changes.
Step 6: Trigger and Monitor the Pipeline
- Click Add Trigger → Trigger Now to execute the pipeline.
- Navigate to the Monitor tab to track pipeline execution status.
- In case of errors, review the detailed logs for troubleshooting.
Step 7: Best Practices for Secure Data Integration
- Use firewall rules to restrict data access.
- Ensure SSL/TLS encryption is enabled for secure data transfer.
- Regularly update your Self-Hosted Integration Runtime for performance and security improvements.
- Implement role-based access control (RBAC) to manage permissions effectively.
Conclusion
By following these steps, you can successfully connect your on-premises data sources to Azure Data Factory. The Self-Hosted Integration Runtime ensures secure and reliable data movement, enabling seamless integration for hybrid data environments.
WEBSITE: https://www.ficusoft.in/azure-data-factory-training-in-chennai/


Comments
Post a Comment