Walkthrough of connecting Snowflake to popular business intelligence tools.
to popular business intelligence tools.
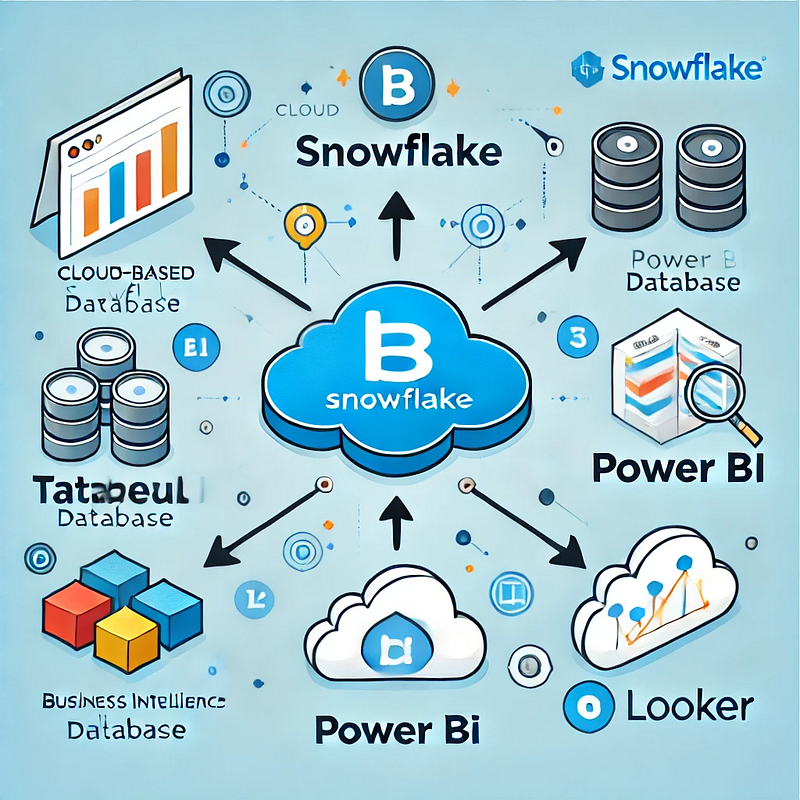
Here’s a step-by-step walkthrough of connecting Snowflake to popular Business Intelligence (BI) tools, such as Tableau, Power BI, and Looker.
1. Connecting Snowflake to Tableau
Prerequisites:
- A Snowflake account with credentials.
- Tableau Desktop installed.
- Snowflake ODBC driver installed.
Steps:
- Open Tableau Desktop
Click on “Connect” → “More…” → Select “Snowflake”.
Enter Snowflake Connection Details
- Server: Your Snowflake account URL (e.g.,
yourcompany.snowflakecomputing.com). - Warehouse: The warehouse used for querying.
- Database: The specific database you want to connect to.
- Schema: The schema inside the database.
Choose Username & Password authentication (or OAuth if enabled).
Click Sign In.
Load Data
Once connected, select tables or write custom SQL queries.
Click “Load” to visualize your data.
2. Connecting Snowflake to Power BI
Prerequisites:
- Snowflake account with a configured warehouse.
- Microsoft Power BI Desktop.
- Snowflake ODBC driver installed.
Steps:
- Open Power BI Desktop
Click “Get Data” → Select “Snowflake”.
Enter Snowflake Connection Details
Server: Your Snowflake account URL (e.g., yourcompany.snowflakecomputing.com).
- Warehouse: The warehouse to use.
- Select “DirectQuery” (for real-time data) or “Import” (for batch data).
- Authenticate
Use Basic Authentication (Username & Password) or OAuth
- Load Data into Power BI
- Choose tables or use custom SQL queries.
- Click Load and start creating Power BI reports.
3. Connecting Snowflake to Looker
Prerequisites:
- A Looker account with admin access.
- Snowflake account with database and warehouse access.
Steps:
- Log in to Looker
Go to Looker Admin Panel → Connections.
- Create a New Connection
- Click “New Connection”.
- Select Snowflake from the database options.
- Enter Snowflake Credentials
- Host: Your Snowflake account URL.
- Database: The Snowflake database to connect.
- Warehouse: Select the warehouse for queries.
- Username & Password: Enter your Snowflake credentials.
- JDBC URL: Use
jdbc:snowflake://youraccount.snowflakecomputing.com.
- Test and Save Connection
- Click “Test Connection” to verify.
- If successful, click Save and start using Snowflake data in Looker.
Best Practices for Connecting Snowflake to BI Tools
✅ Optimize Queries: Use materialized views and clustering for performance.
✅ Enable Caching: Tools like Tableau and Power BI support query caching.
✅ Use Role-Based Access: Restrict data access using Snowflake roles.
✅ Monitor Query Performance: Use QUERY_HISTORY in Snowflake to track BI tool queries.
WEBSITE: https://www.ficusoft.in/snowflake-training-in-chennai/


Comments
Post a Comment